How to Create a New Repository in GitHub and Push Your Code from VS Code
This guide walks you through creating a new repository on GitHub and pushing your local code to it using VS Code.
Before You Start
- -You have a GitHub account
- -VS Code is installed on your computer
- -Git is installed (VS Code usually prompts you to install it)
- -You have a project folder with code you want to push
Create a New Repository on GitHub
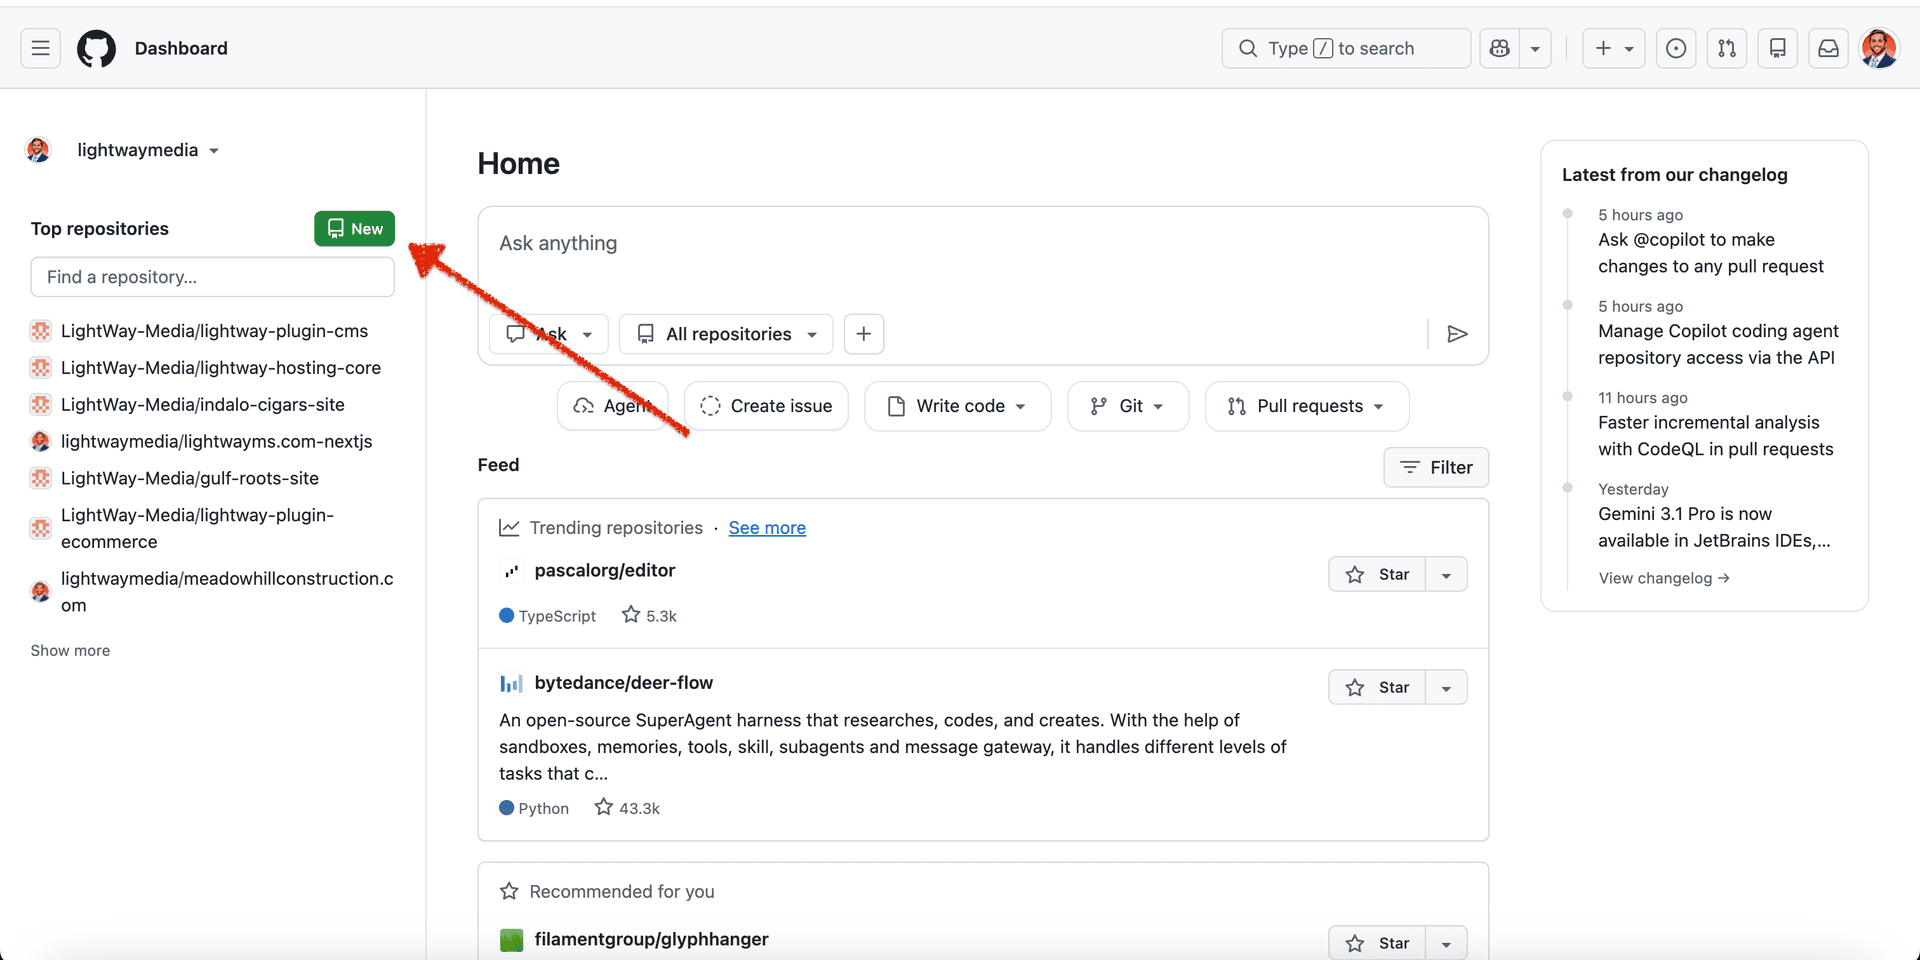
Go to github.com, sign in, and click the + icon in the top right corner. Select "New repository".
Name Your Repository and Configure Settings
- Enter a repository name (e.g.,
my-project) - Choose Private (or Public if you want others to see it)
- Important: Do NOT check "Add a README file" since you already have code
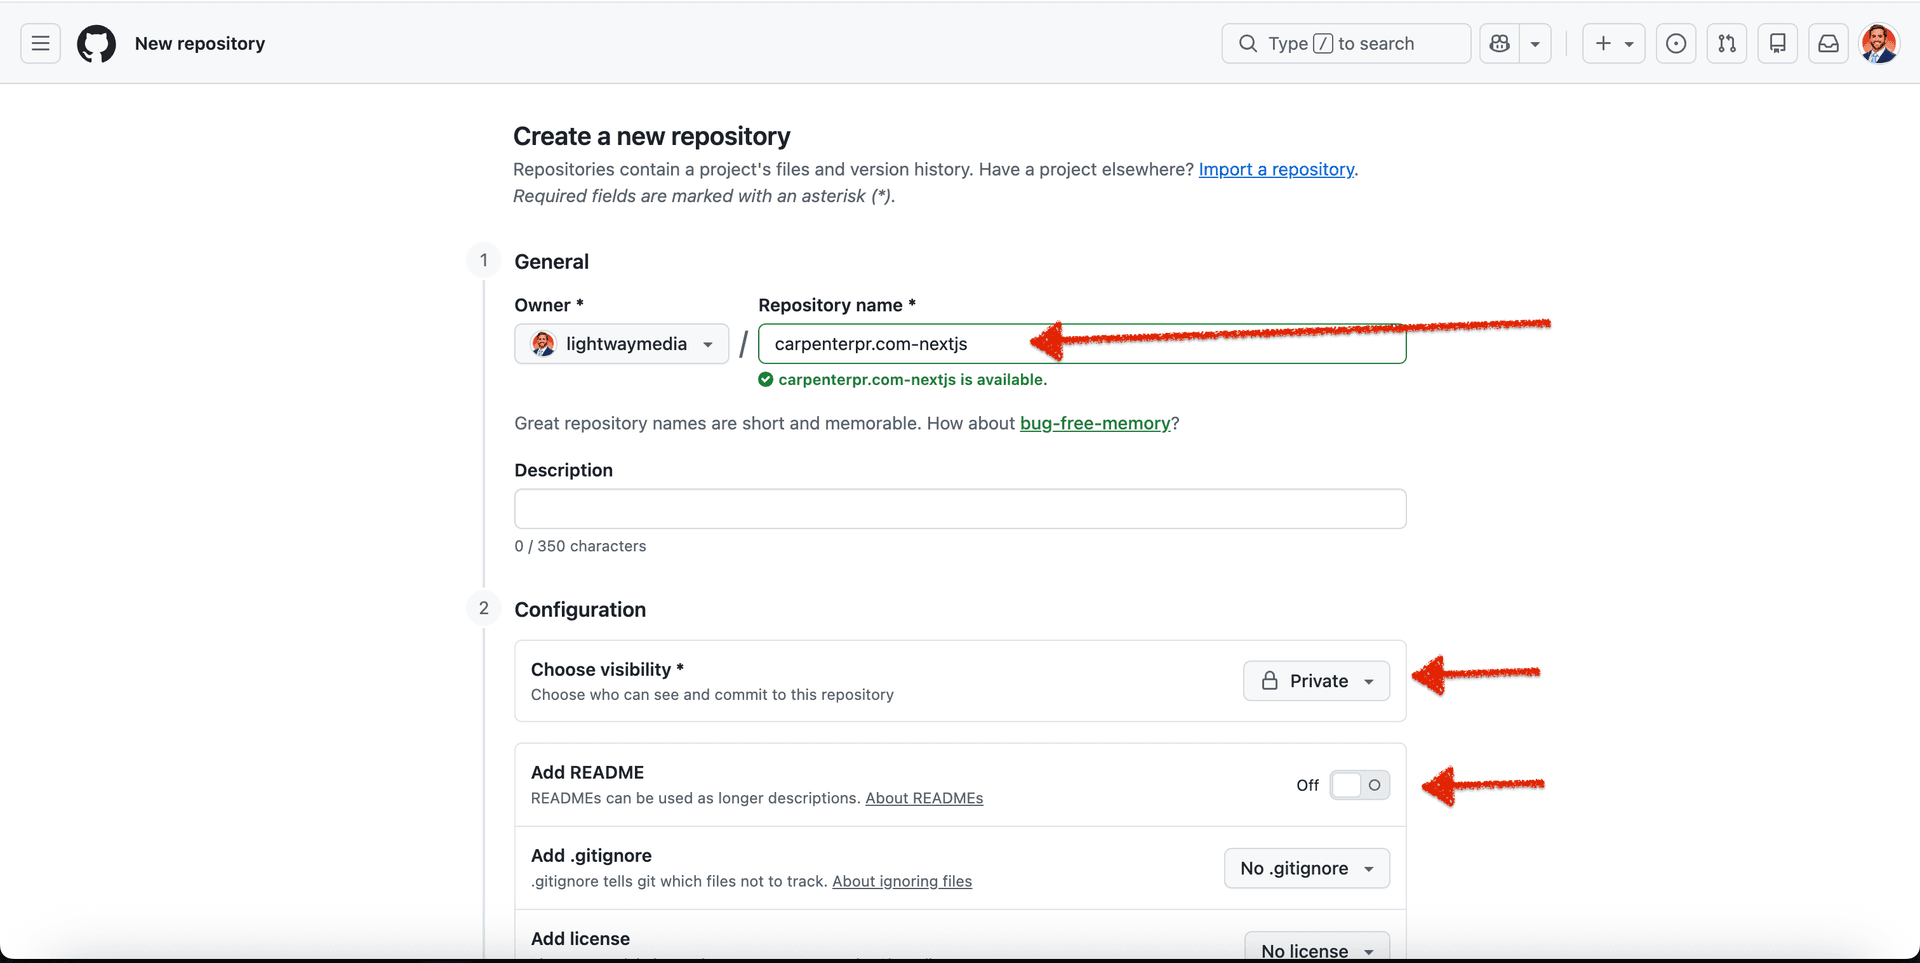
Click "Create repository" when done.
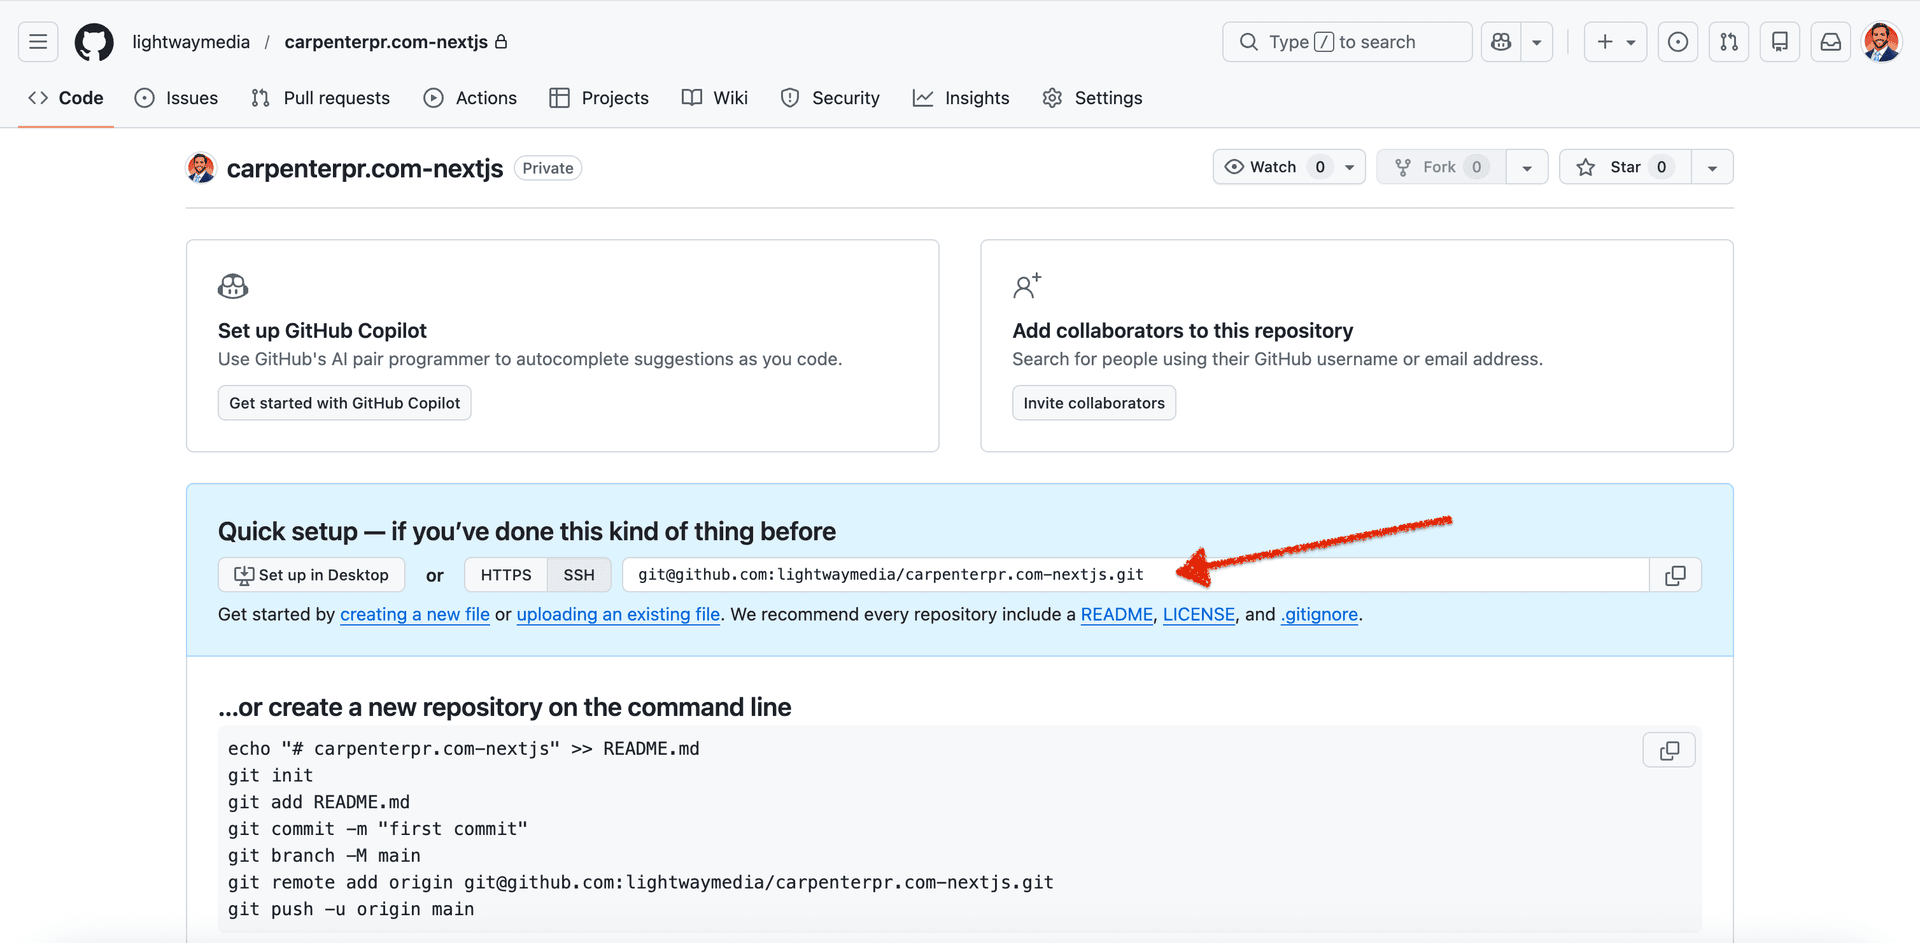
Copy the Repository URL
After creating the repository, GitHub shows you setup instructions. Copy the repository URL (ends in .git).
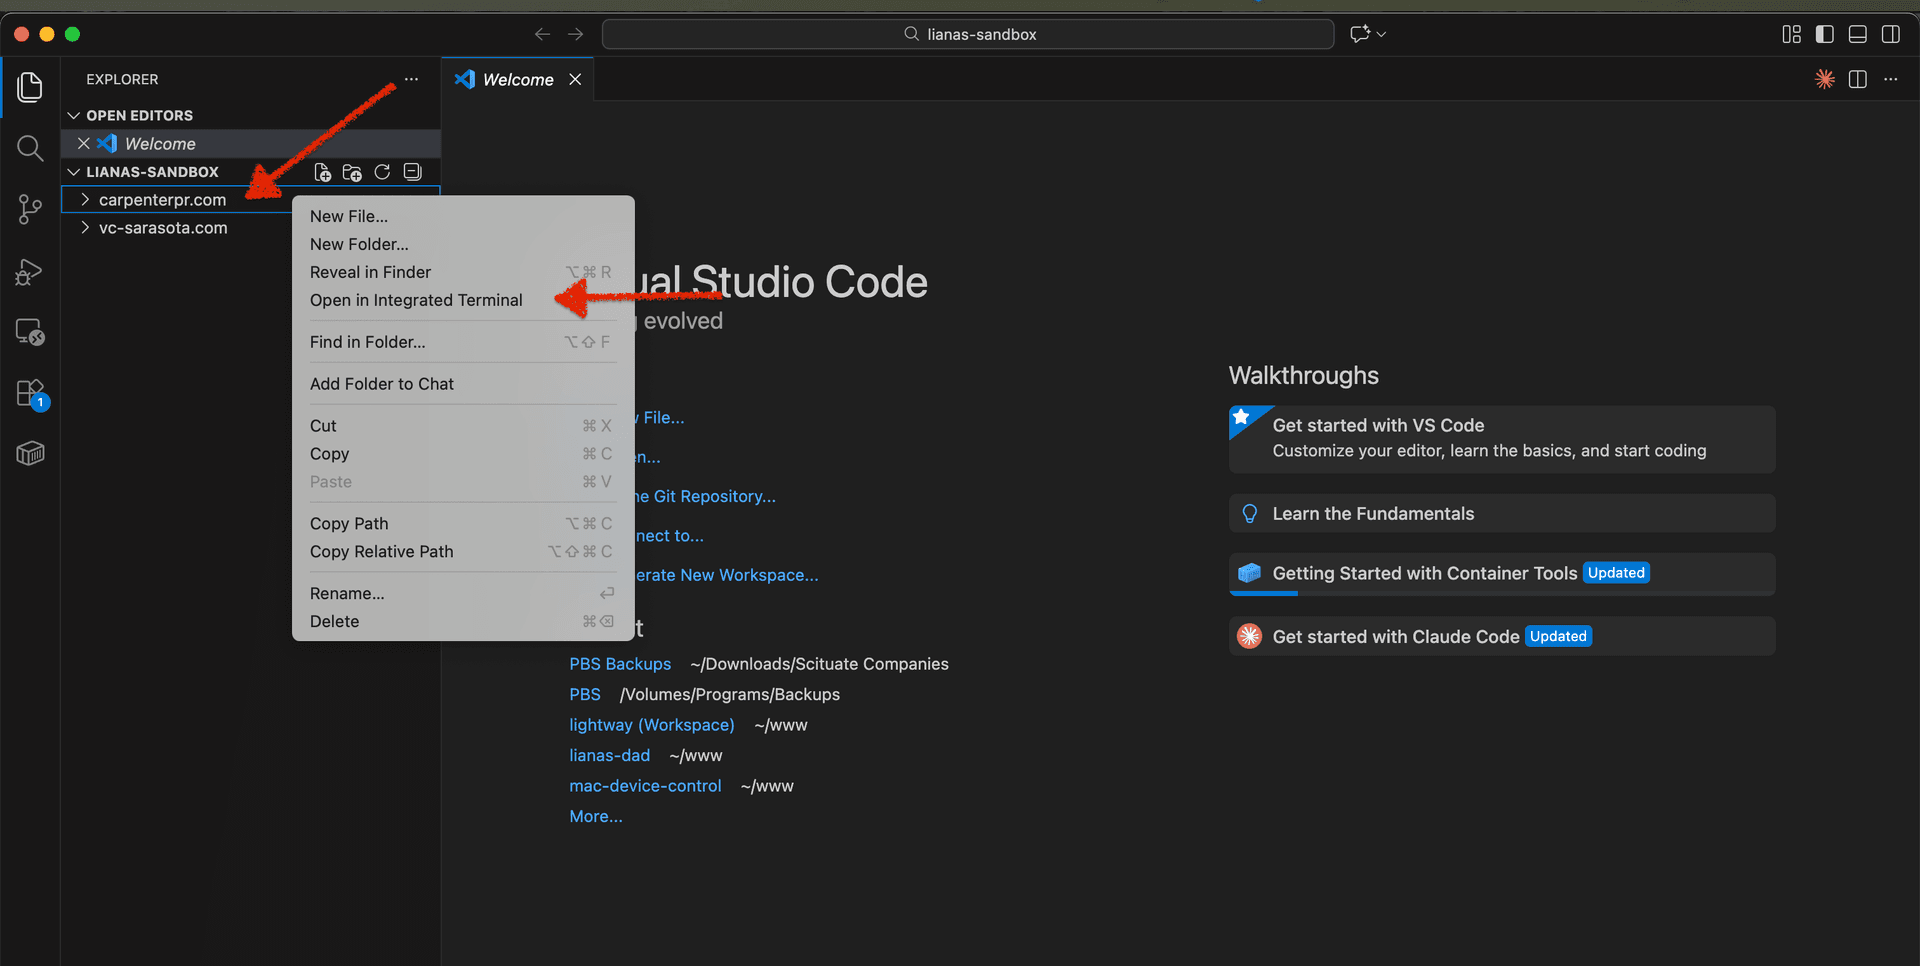
Open Terminal in VS Code
In VS Code, right-click on your project folder in the sidebar and select "Open in Integrated Terminal".
Initialize Git
In the terminal, run:
git init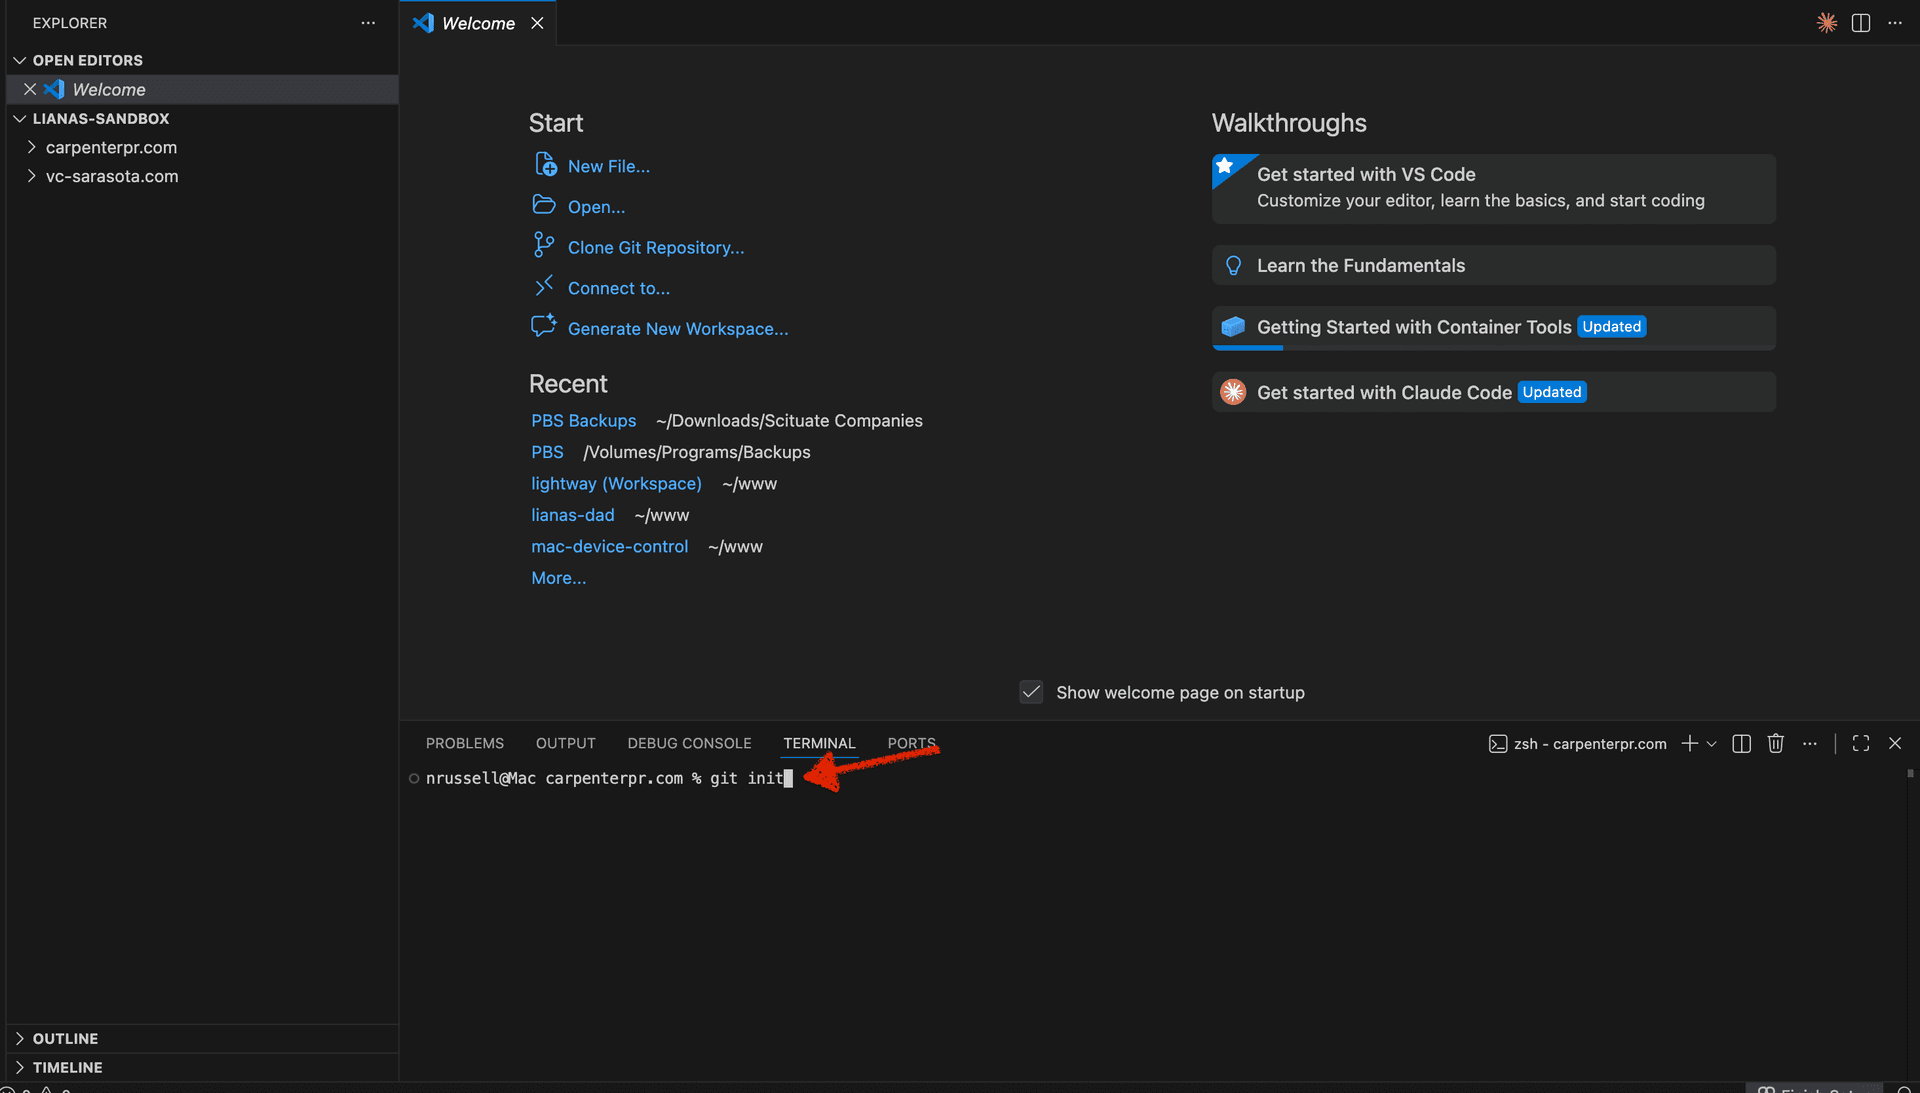
This creates a new Git repository in your project folder.
Connect to GitHub
Run this command, replacing the URL with the one you copied in Step 3:
git remote add origin https://github.com/yourusername/your-repo.git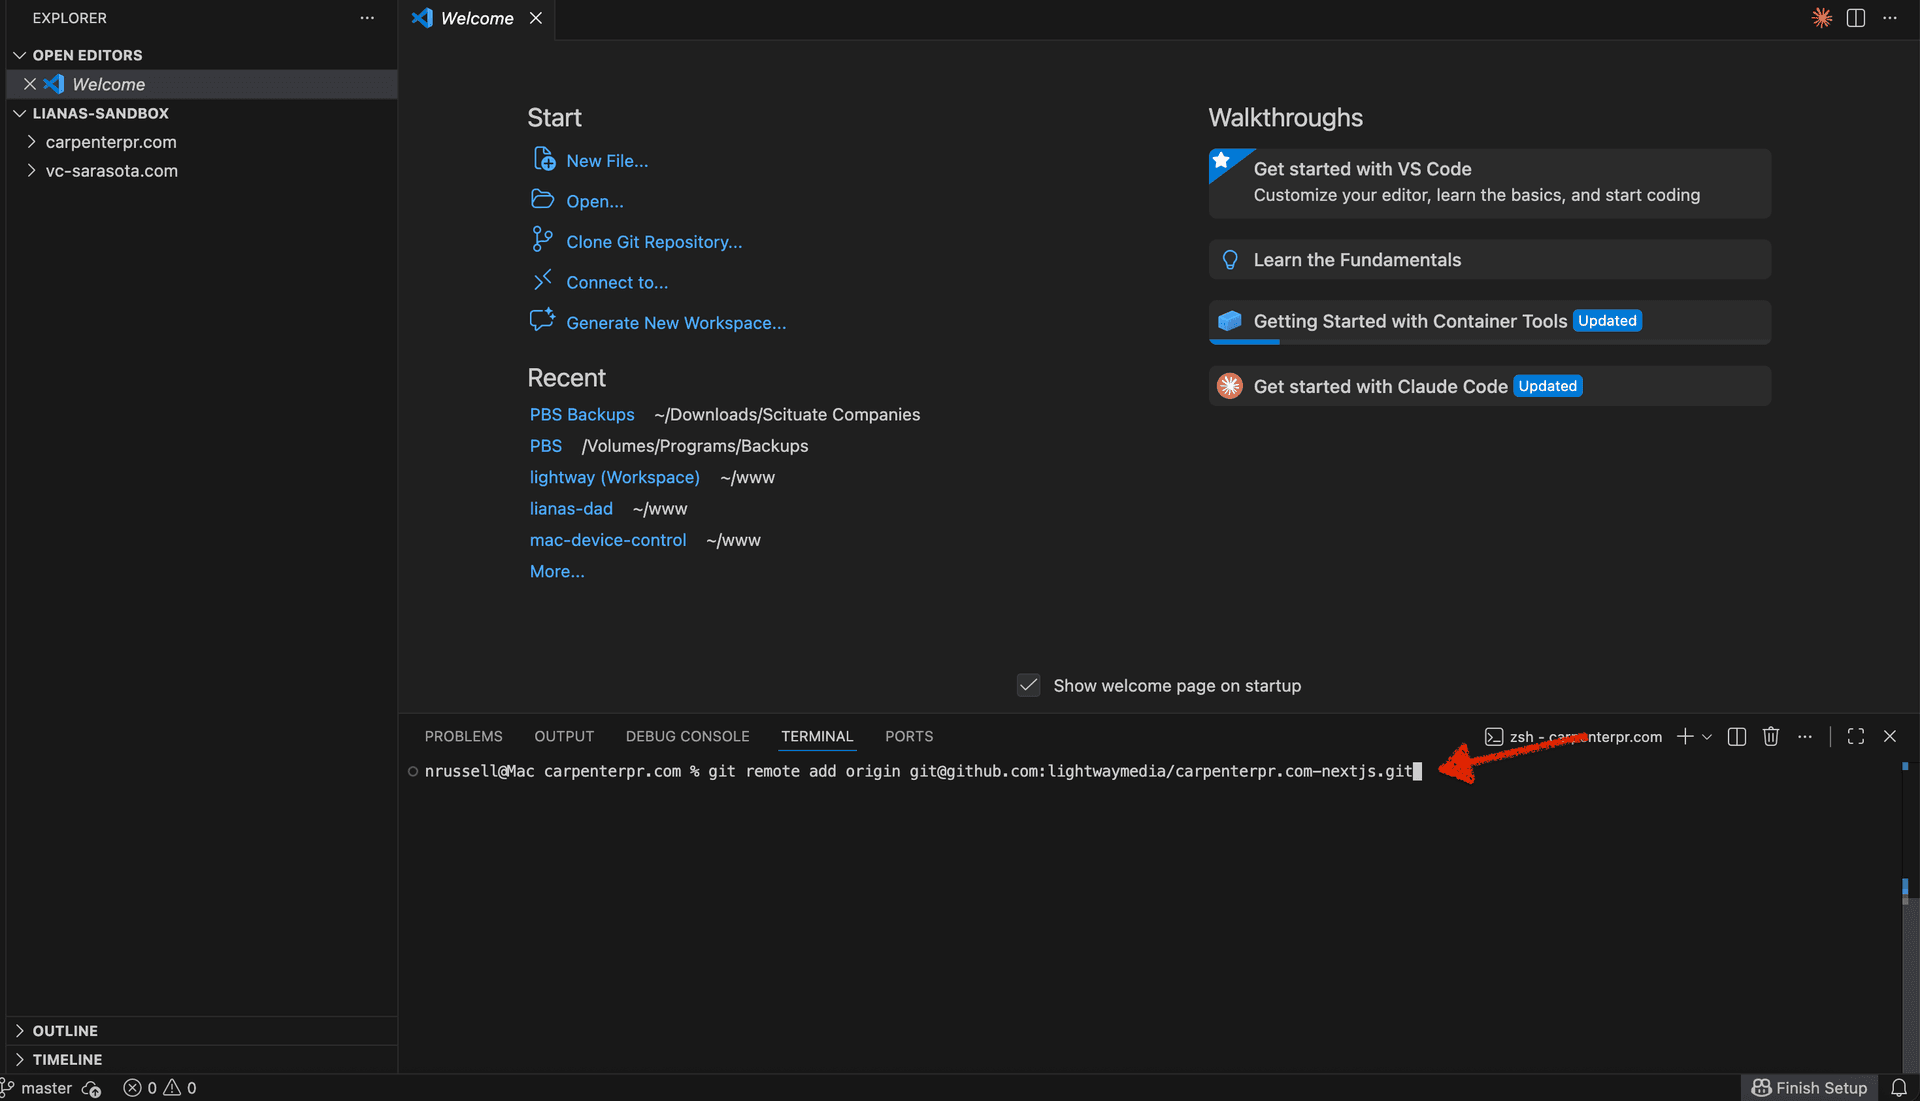
This tells Git where to push your code.
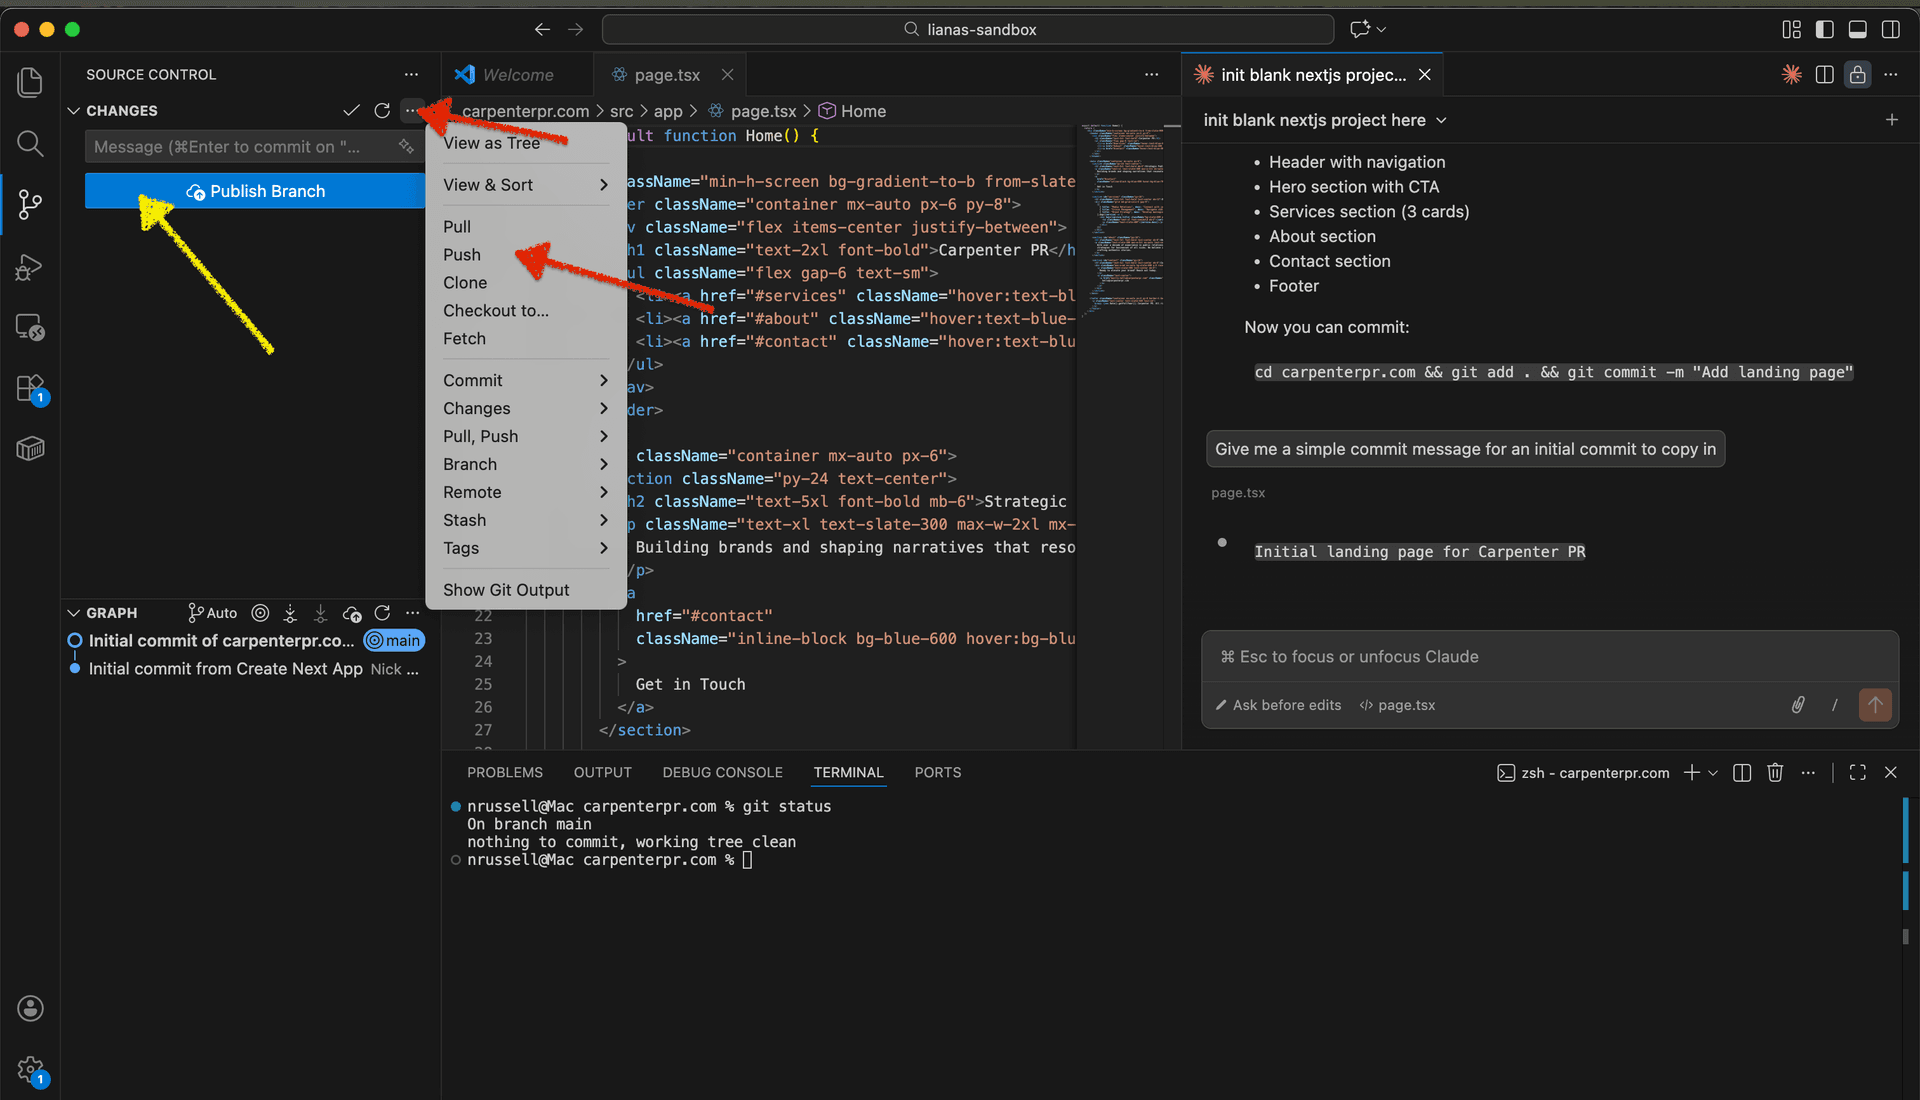
Stage Your Files
Click on the Source Control icon in the left sidebar (or press Ctrl+Shift+G). Click the + button next to "Changes" to stage all files.
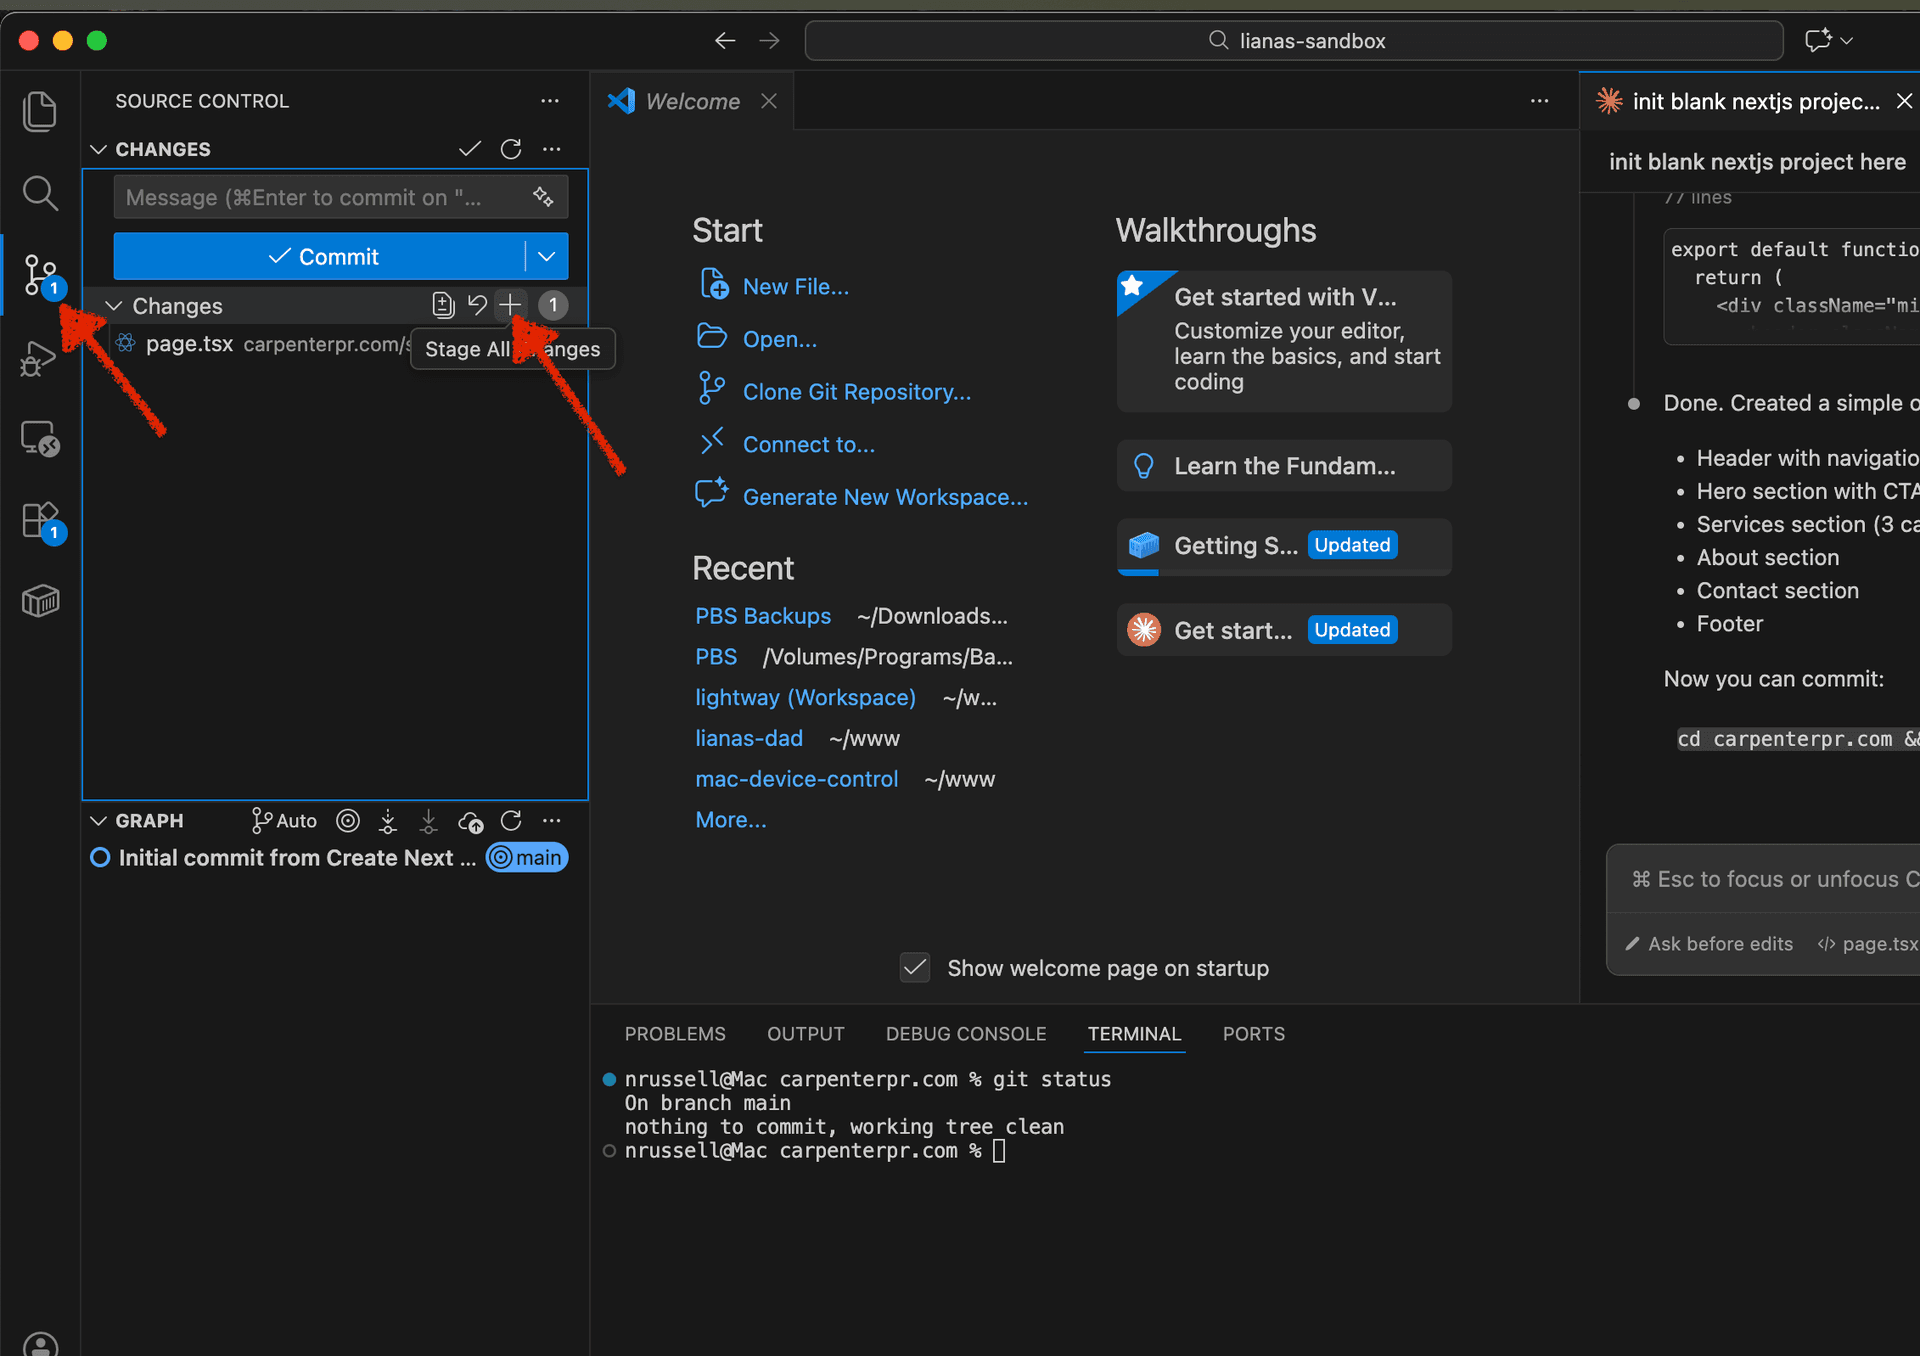
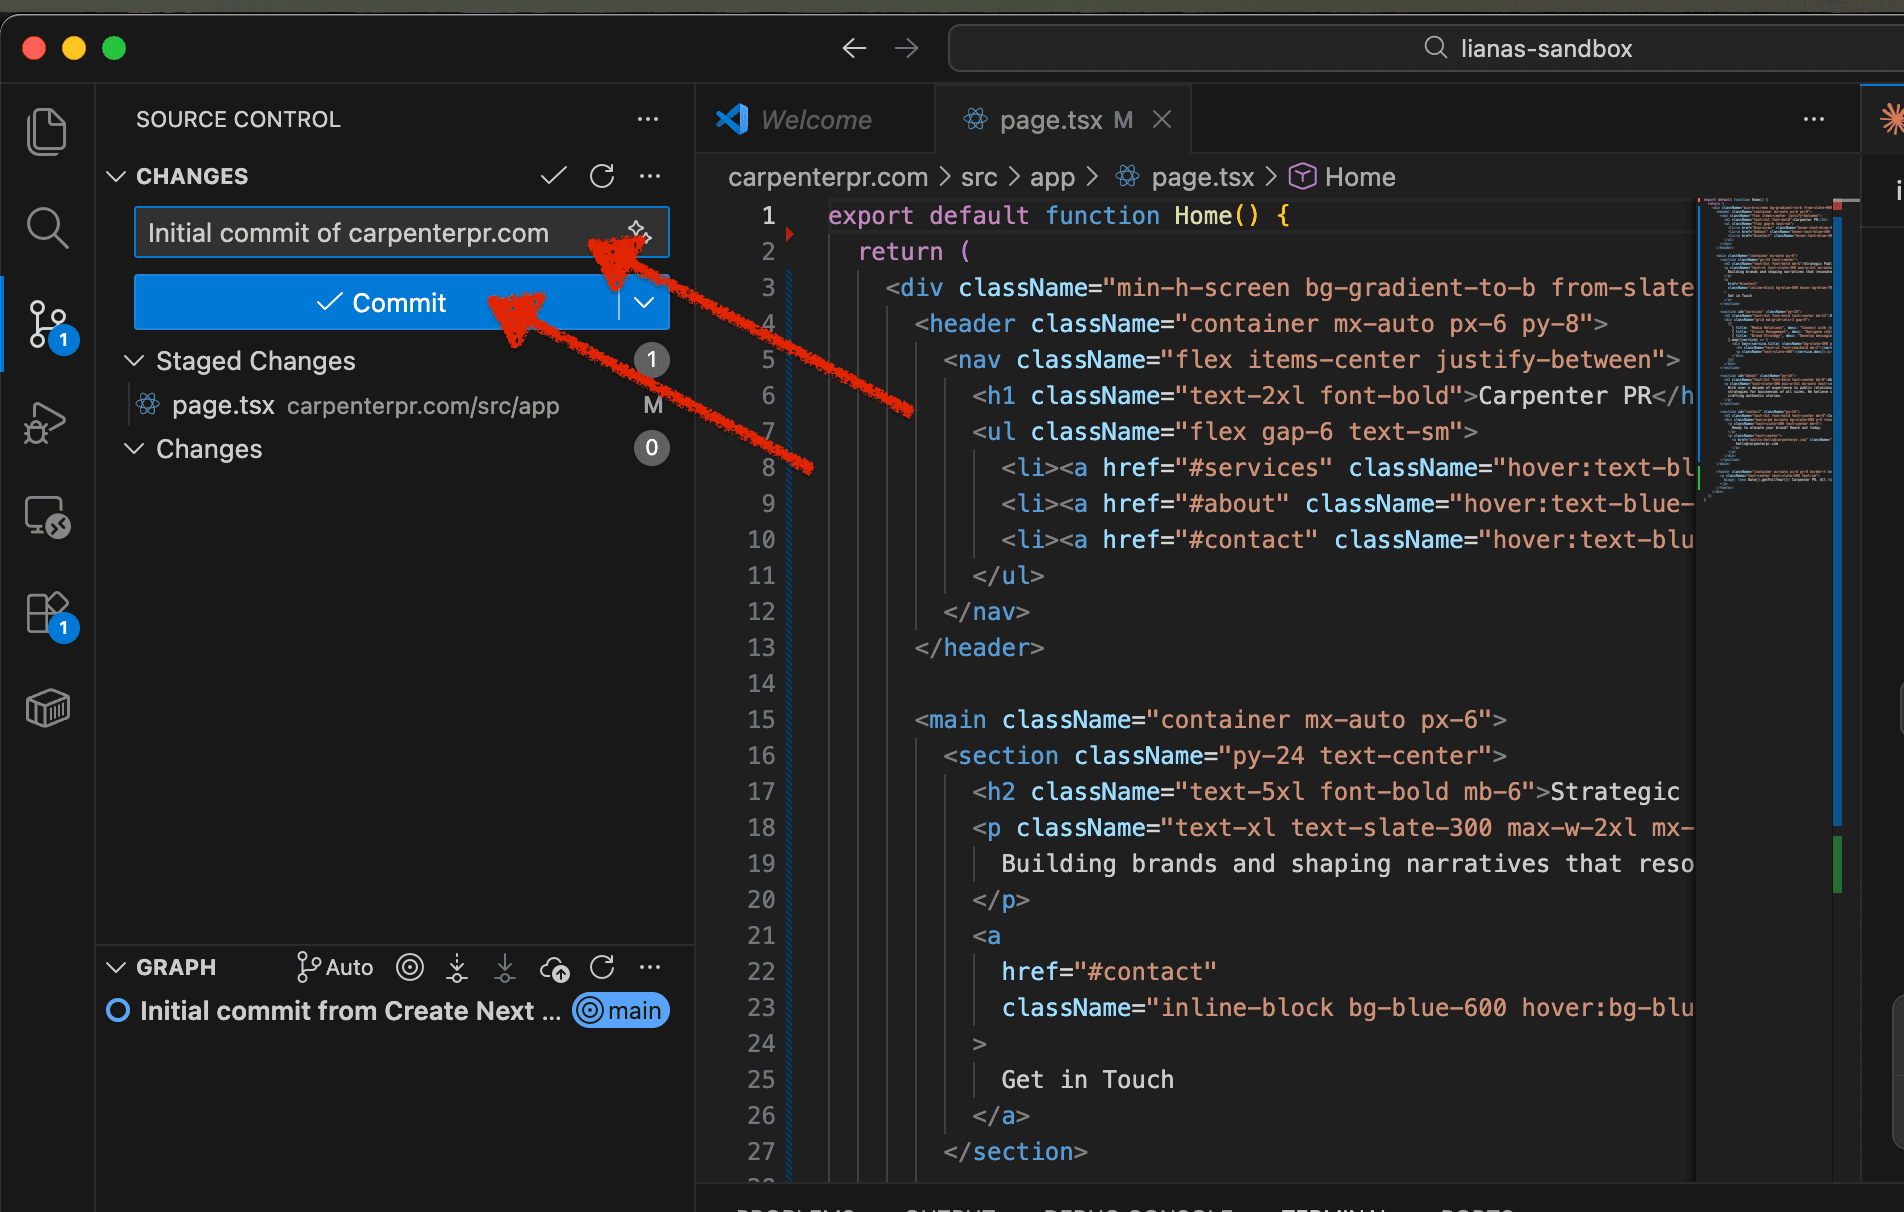
Write a Commit Message and Commit
Type a commit message (e.g., "Initial commit") in the message box at the top, then click the Commit button.
Push to GitHub
Click the three dots (...) menu in the Source Control panel and select Push, or click "Publish Branch" if you see that button.
Done! Refresh your GitHub repository page to see your code.